
Manual triplog
- Feb 2
- 2 min read
On the dashboard, click the “Log” button on the left-side menu.

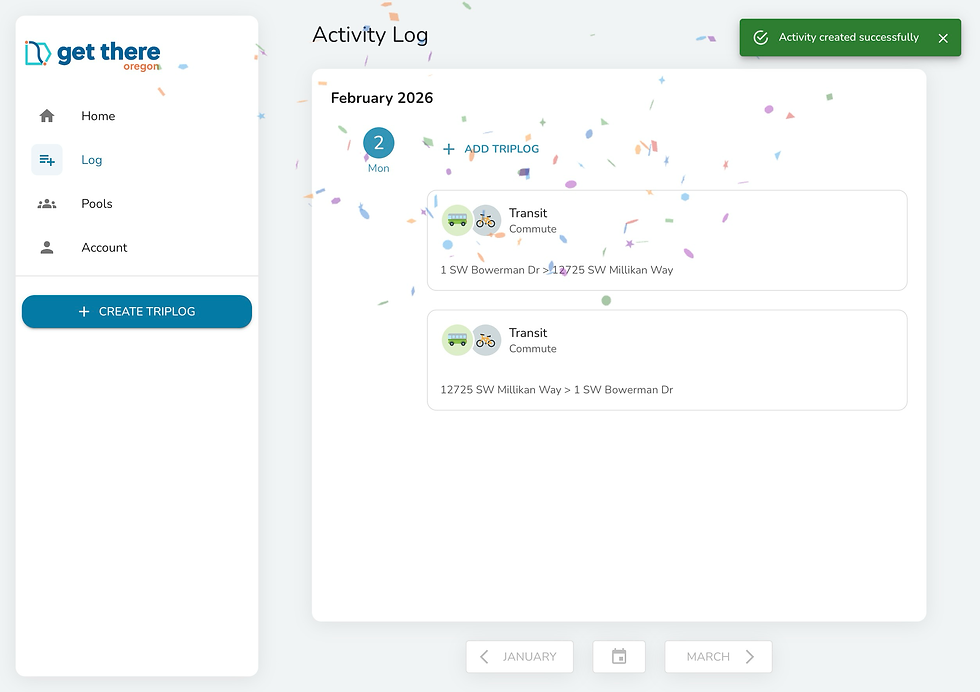
Click the “ADD TRIPLOG” button within the main Activity Log window

Create your triplog:

Select A Mode: Pick the main mode, this should be the primary mode of transportation you used for your trip. If you used other forms of transportation during your trip, you can identify them in the next step.

ADD ADDITIONAL MODES: select any additional modes you used on your trip. For example, you may have used a bike to get to or from a transit stop.

Pick the date(s): you can pick one or more dates you made this trip on.

ROUND TRIP, or SINGLE TRIP: if your return trip was the same, but in reverse, select ROUND TRIP. If this was a one-way trip, or your return trip was very different, select SINGLE TRIP, and log your return trip as a separate entry.
Arrive (and Depart): enter your arrival (and departure) time(s).

My Route: enter your origin and destination addresses. You can pick from saved locations including your home and work addresses for easy commute trip logging.

Distance: Get There will automatically approximate your commute distance. You can change this manually if you need to.
Trip Type: select what kind of trip you’re logging. It’s important you select the right trip type as trip logs towards most incentives and programs are limited to certain types of trips.
Commute: trips to and from work, or for work purposes.
Errand: trips to the grocery store, healthcare, restaurants, retail stores…
Recreation: walking your dog, riding with a group or alone for exercise…
Other: any trip that doesn’t fit into the other three categories.
SAVE: Double check your trip log, and press SAVE. You’ll get confirmation and the trips will show in your Activity Log.
Still need help? Contact the Get There Oregon team at info@GetThereOregon.org or call 971-202-9758.

